If you read my blog, Ballet and Bullseye, you will know that Firn’s 17th birthday was on the 24th of Febuary. Well, last weekend I made Firn her birthday platter. And she wanted chocolate. Lots of chocolate.
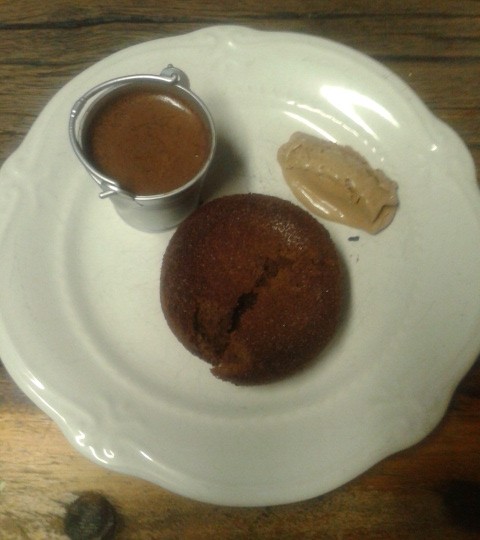
So what if the cake is a little cracked? Still tastes good
Chocolate Galore
So there are three recipes; chocolate mousse, chocolate ice-cream and chocolate lava cake. I didn’t take any photo’s while I was making the recipes, all three recipes are quite easy.
First of all make the ice-cream. The ice-cream I used, I must admit, was bought. I did make ice-cream, but then dropped the bowl, which smashed… So, here is the recipe I would have used (am I the only who sees too many ‘ice-creams’ in the paragraph?)
DARK CHOCOLATE ICE-CREAM
- 50g sugar
- 125ml (1/2 cup) water
- 250g dark chocolate
- 3 egg yolks
- 400ml thick cream
- 30ml (2 tbsp) chocolate or coffee liqueur (I used 2 tsp vanilla essence)
Combine sugar and water in a saucepan and bring to the boil, stirring all the time. Boil for three minutes, making sure all the sugar dissolves, then remove from the heat and and leave to cool for 15 minutes. While the sugar water is cooling, start grating the chocolate. You might want to do this before you even start. Add the chocolate to the sugar water, do not stir. Pour into a blender and blend on high speed, or until smooth and well mixed. You can also do it with a hand blender in a large glass bowl. It takes a bit longer. Set the blender at a medium high speed and add the egg yolks, one by one. Blend until the mixture is smooth.
Beat the cream until it forms soft peaks and fold in the chocolate mixture with the coffee or chocolate liqueur. You can spray plastic moulds with a non-stick spray, fill with the ice-cream mixture, cover and freeze until set. Or pour into a large bowl, cover, freeze until set, then scoop out and enjoy.
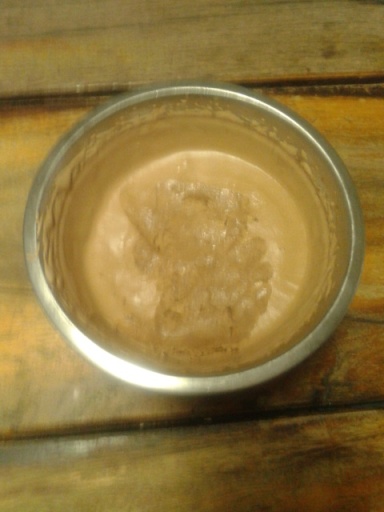
The surface is not smooth because I kept poking it to see if it had set
I had to add a picture of how golden in colour or farm cream is. Dad had taken out our 100 year old cream separator the night before.

Cream at the top, skim milk at the bottom
Okay, on to the Mousse. It’s a dense mousse, you could use less marshmallows if you wish. Don’t worry if it’s liquid when you put in in glasses and set it in the fridge. You just need to give it an hour or two to set.
EASY CHOCOLATE MOUSSE
Serves six to eight people
- 150g white mini marshmallows, or normal marshmallows cut up, or even 100g
- 50g soft butter
- 250g good dark chocolate chopped into small pieces
- 60ml hot water, from a boiled kettle
- 280ml cream (fresh from a farm is best :D)
- 1 tsp (5ml) vanilla essence
Place the marshmallows, butter, chocolate (I used half dark and half milk) and water in a saucepan. Make SURE the marshmallows are small, or cut up. Very important. Put the sauce pan on the stove, over a gentle heat, don’t burn the chocolate. Melt the contents, stirring every now and then making sure nothing sticks to the bottom. When everything is melted, remove from heat.
Whip the cream and vanilla together until really nice and thick. Fold in the cooling chocolate mixture until you have a smooth, yummy mixture. Pour into six or eight glasses, cute little milking buckets, or ramekins. Chill in the fridge for 1 to 2 hours until set.

Glasses for the ‘rents, milk buckets for us teens
Just a few tips; don’t skimp on the cream and to a cup. I know it’s close, but you need that extra cream. Also, watch the heat on the stove. Burnt chocolate can start World War III.
Now for the super, yummy, gooey (is that a word?), tantalizing chocolate lava cake. For those who don’t know, a chocolate lava cake is cooked ion the out side, but when you cut in there is still some gooey mixture. It’s awesome and perfect
CHOCOLATE LAVA CAKE
- 113g dark chocolate, again I used half dark and half milk
- 113g (1 stick) butter
- 1 cup icing sugar
- 2 eggs
- 2 egg yolks
- 6 tbsp (90ml) cake flour
- Heavy cream for topping (if your eating it without the mousse and ice-cream)
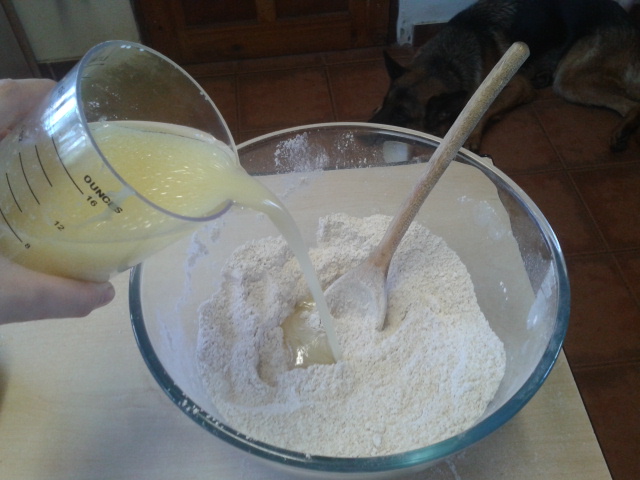
Preheat oven to 425°F/220°C, and thoroughly spray four or five custard cups, or something that size that can go into the oven. Chuck the butter and chocolate into a glass bowl. Microwave for 1 minute, the chocolate won’t be melted, and some bits of butter won’t be melted. But do NOT put it in for longer. Whisk together gently and slowly until everything is melted and well incorporated. Add icing sugar, stirring gently until smooth.
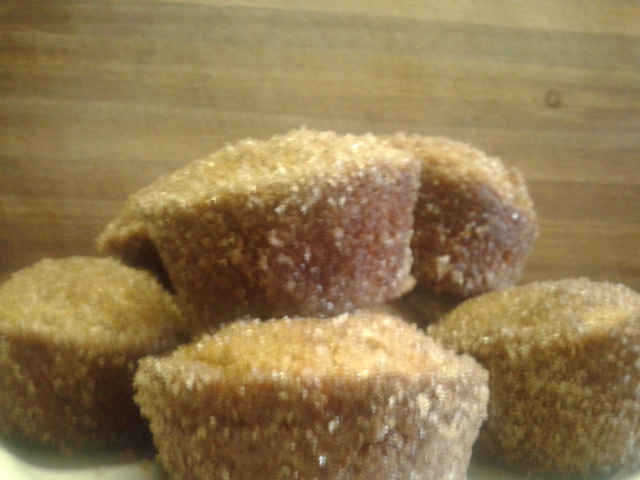
Crack in the eggs, and pour in the yolks. Mix until combined, do not over mix. Add flour, stirring to make sure everything is evenly incorporated. Even;y pour chocolate cake mixture into your prepared custard cups. Place them on a baking sheet and bake for 13-15 minutes. Edges must be well set and center slightly soft. Place a plate on top of the cake, and flip over. The cake should fall out. Don’t worry if some goeyness runs out, this makes it look even more awesome.

Hello there
Now put all three these chocolate masterpieces on the same plate…. And you will have a plate of chocolate bliss…

That tasted good….
WARNING: If you eat to much of this, you will feel sick. It’s like that Easter when you where a kid and you ate all your eggs in one go. But this is really the best birthday treat I have ever made. With the possible exception of Mom’s gingerbread house:
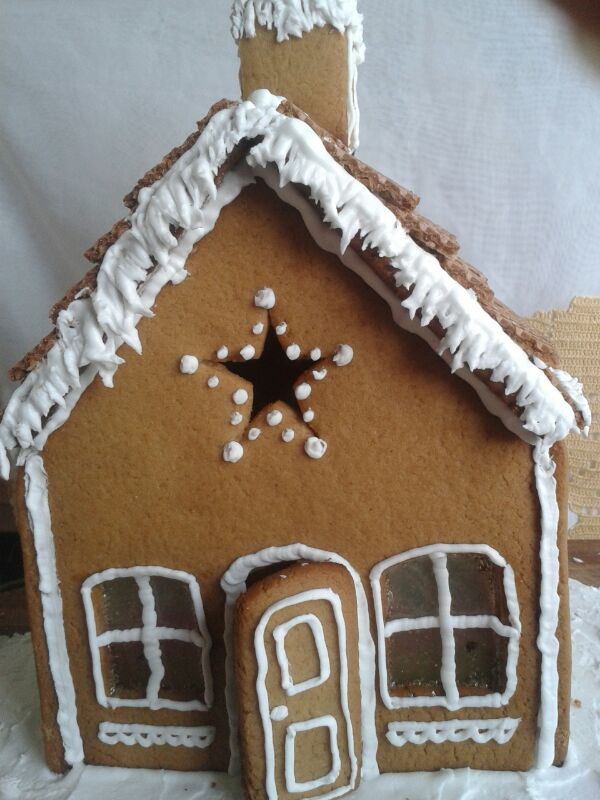
The fairy tale house